Install DOSBox-X
If you are on Windows 7, 10 or 11 download a MingW version of DOSBox-X, unpack it and run it! Very important to have the MingW version because of the slirp backend, as the pcap backend can cause issues with modern Wi-Fi modules. You can find the latest here: https://github.com/joncampbell123/dosbox-x/releases called like dosbox-x-mingw-win32-20251007154914.zip for example.
Skip to the next step if you don’t want to read the Linux section
If you have Linux, you should install flatpak first. You can install on different Linux distributions like Fedora, Arch, etc., check the documentation on the official site for yours, but for Debian based distribution (Ubuntu, Linux Mint, Kali Linux, etc.) you should write:
sudo apt install flatpak
then install the DOSBox-X itself and run it (this is the same for every distribution):
flatpak install flathub com.dosbox_x.DOSBox-X
flatpak run com.dosbox_x.DOSBox-X
Access files on the host
After you run DOSBox-X you should see something like the following:
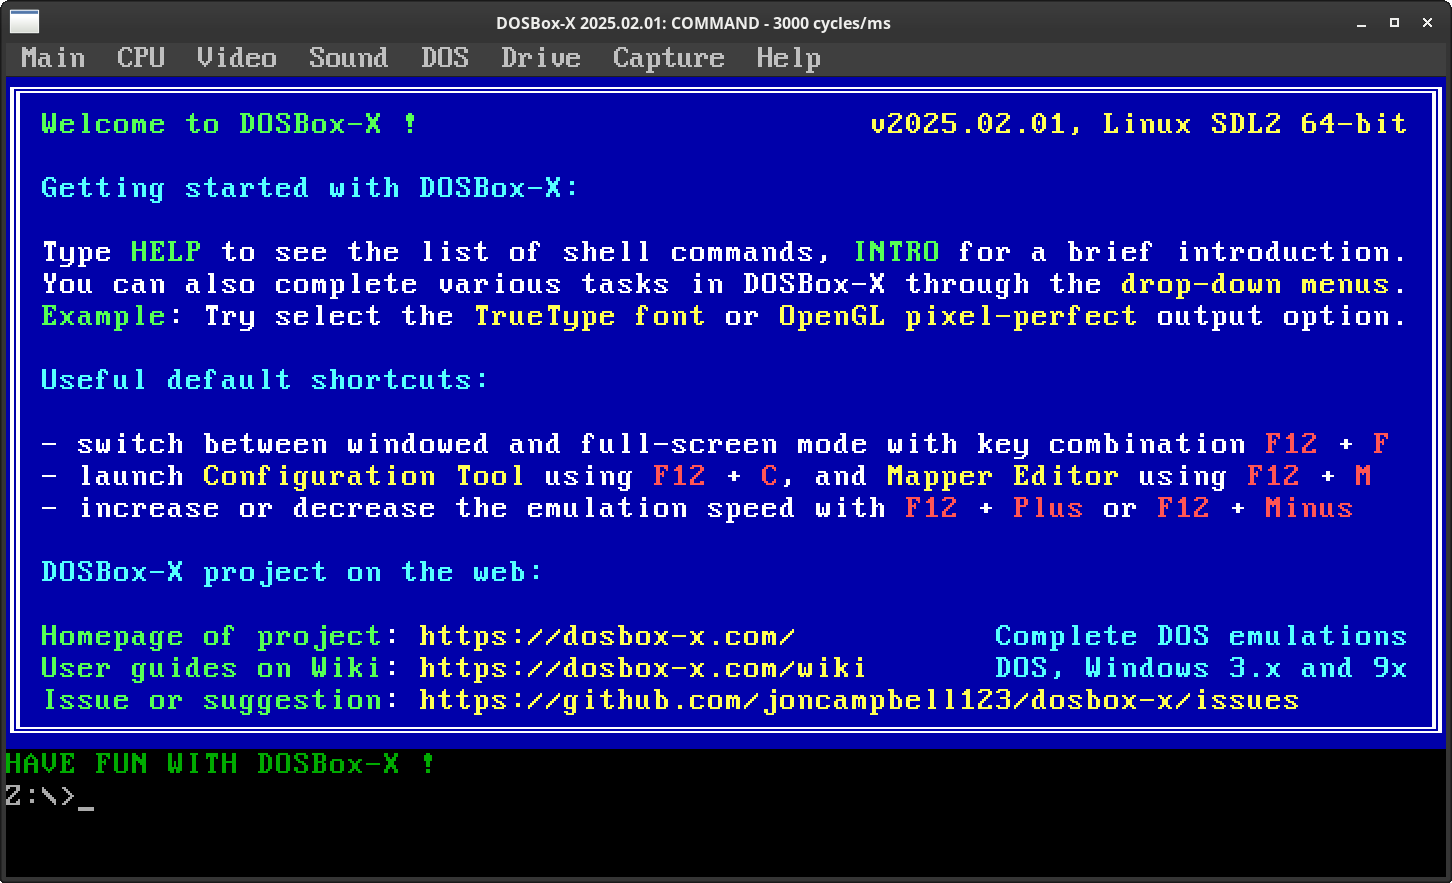
First you only have a Z: drive, this contains the default commands in different directories, one important is the MOUNT.COM that is in the SYSTEM directory. If you have Windows you can write:
mount c "c:\Users\Your username"
and under Linux:
mount c "/home/your username"
After this you should have a C: drive that points to your home folder at your host, check with dir command:
Z:\> c:
C:\> dir
You should see your files in ABCDEF~1.XYZ style. The DOS only have 8 characters for filename and 3 for the file extension, if a file is longer than that it will have a ~1 postfix.
Warning! If you change files on your host system it will not be changed in the emulator. Run the rescan command for synchronize the file system changes!
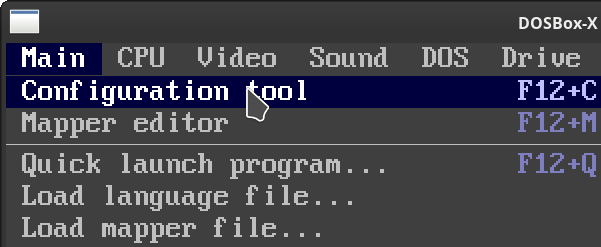
If you don’t want always mount your home folder (or a dedicated DosBox folder inside your home folder, which I strongly recommend), click on Main -> Configuration tool
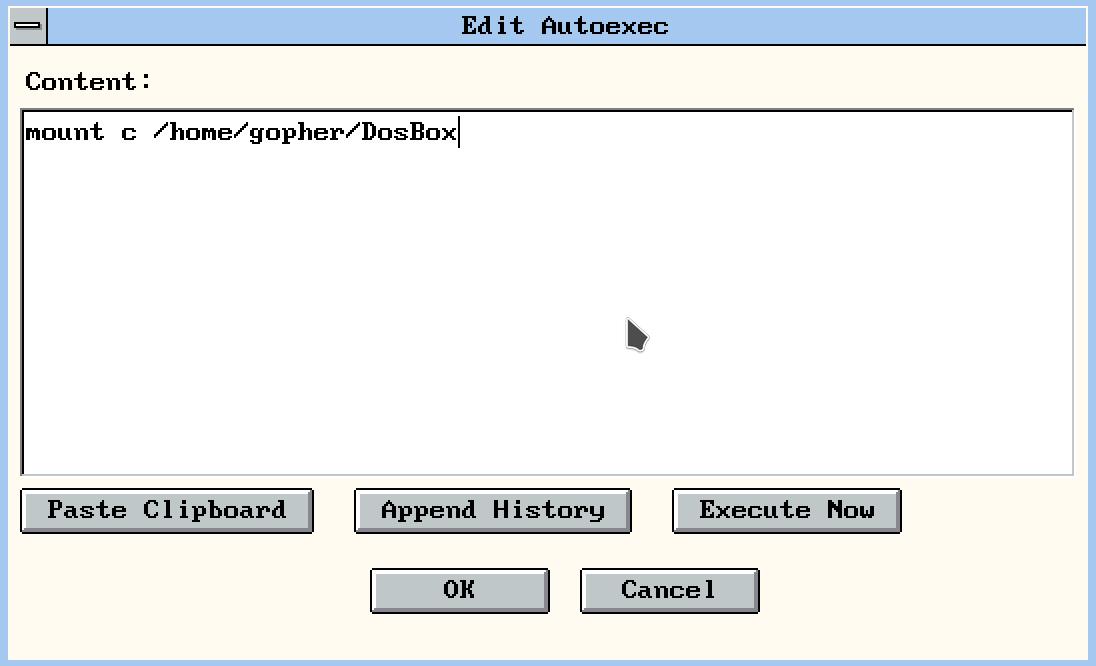
Then click on the AUTOEXEC.BAT button:
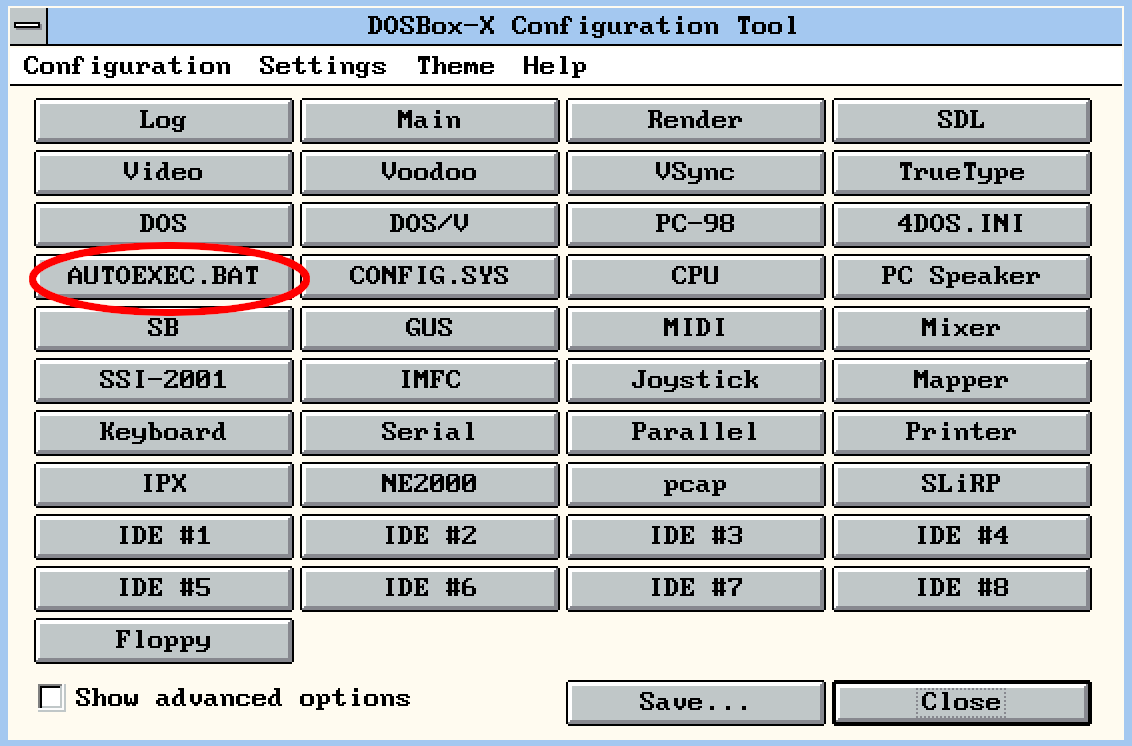
Write your commands you want to run on startup, then hit OK, then Save, then Save & Restart
After we installed and set up a basic DOSBox-X, on the next page we will install Windows 3.11